Step-by-Step Guide: How to Craft Your Own Wearable Basketball Card Costume
 By Marcus Vance
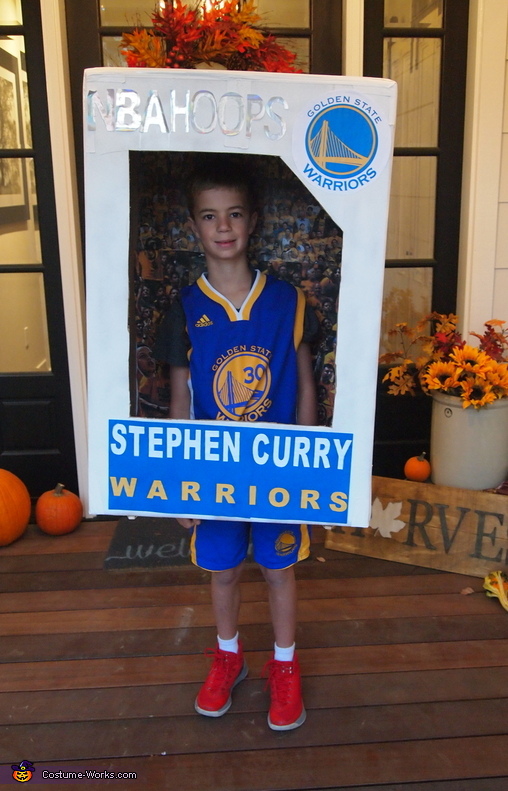
Follow this sequential workflow to ensure your frame stays straight and structurally stable throughout the night.
1. Draft Your Digital Layout
Choose your underlying card era. A retro Topps basketball card from 1986 calls for simple red-and-blue block borders, team banner wedges, and classic typefaces like Helvetica Black. If you prefer a modern Panini Prizm rookie card design, incorporate sharp geometric angles, silver metallic accents, and the iconic "RC" rookie shield badge in the upper corner.
Free design software lets you scale elements precisely. Build your canvas at 300 DPI using the outer board dimensions from the sizing chart above. Keep critical graphics, player nameplates, team logos, position callouts, positioned within the perimeter borders, leaving the center open for the cutout.
2. Cut the Structural Window
Lay your backing substrate flat. Mark the window dimensions in pencil using a steel straightedge. Do not rush this cut. Make an initial scoring pass through the top paper layer of the foam board. Follow with two firm passes to slice clean through the foam center and back liner. Ragged edges ruin the illusion of a factory-cut trading card.
3. Apply Graphics and Foil Details
Apply printed assets from bottom to top. If you are aiming for a refractor parallel, paste iridescent cellophane or holographic film across the borders before mounting your printed framing graphics. Smooth each segment down using a plastic felt-edge squeegee to prevent trapped air pockets. Seal external edges with clear packing tape folded neatly over the rear margins.
4. Assemble the PSA Graded Slab Banner
To elevate the presentation into a PSA graded slab costume, extend your board height by six inches. Construct an upper header block styled after authentic grading labels: a stark red outer border, crisp white background, stylized certification barcode, card year, and an bold "GEM MT 10" badge in the upper right corner. This instantly transforms a standard sports build into an unmistakable collectible prop.
5. Rig the Shoulder Harness
Never try to carry your costume by hand all night. Secure mounting hardware to the backside of the board, positioning anchor points level with your armpits. Thread your nylon webbing through pre-punched slits reinforced with wide fender washers, or glue crisscrossed nylon straps directly to the rear board using industrial contact cement. Crossing the straps behind your back forms an "X" harness that distributes board weight across both shoulders, keeping your hands free for beverages or trick-or-treat bags.
Marcus Vance is a cybersecurity auditor and technology writer dedicated to educating the public about online safety, data privacy regulations, enterprise security, and emerging cyber threats.
