The Hidden Dirt Under Old Faucets: How to Replace Yours in Under an Hour
 By Chloe Bennett
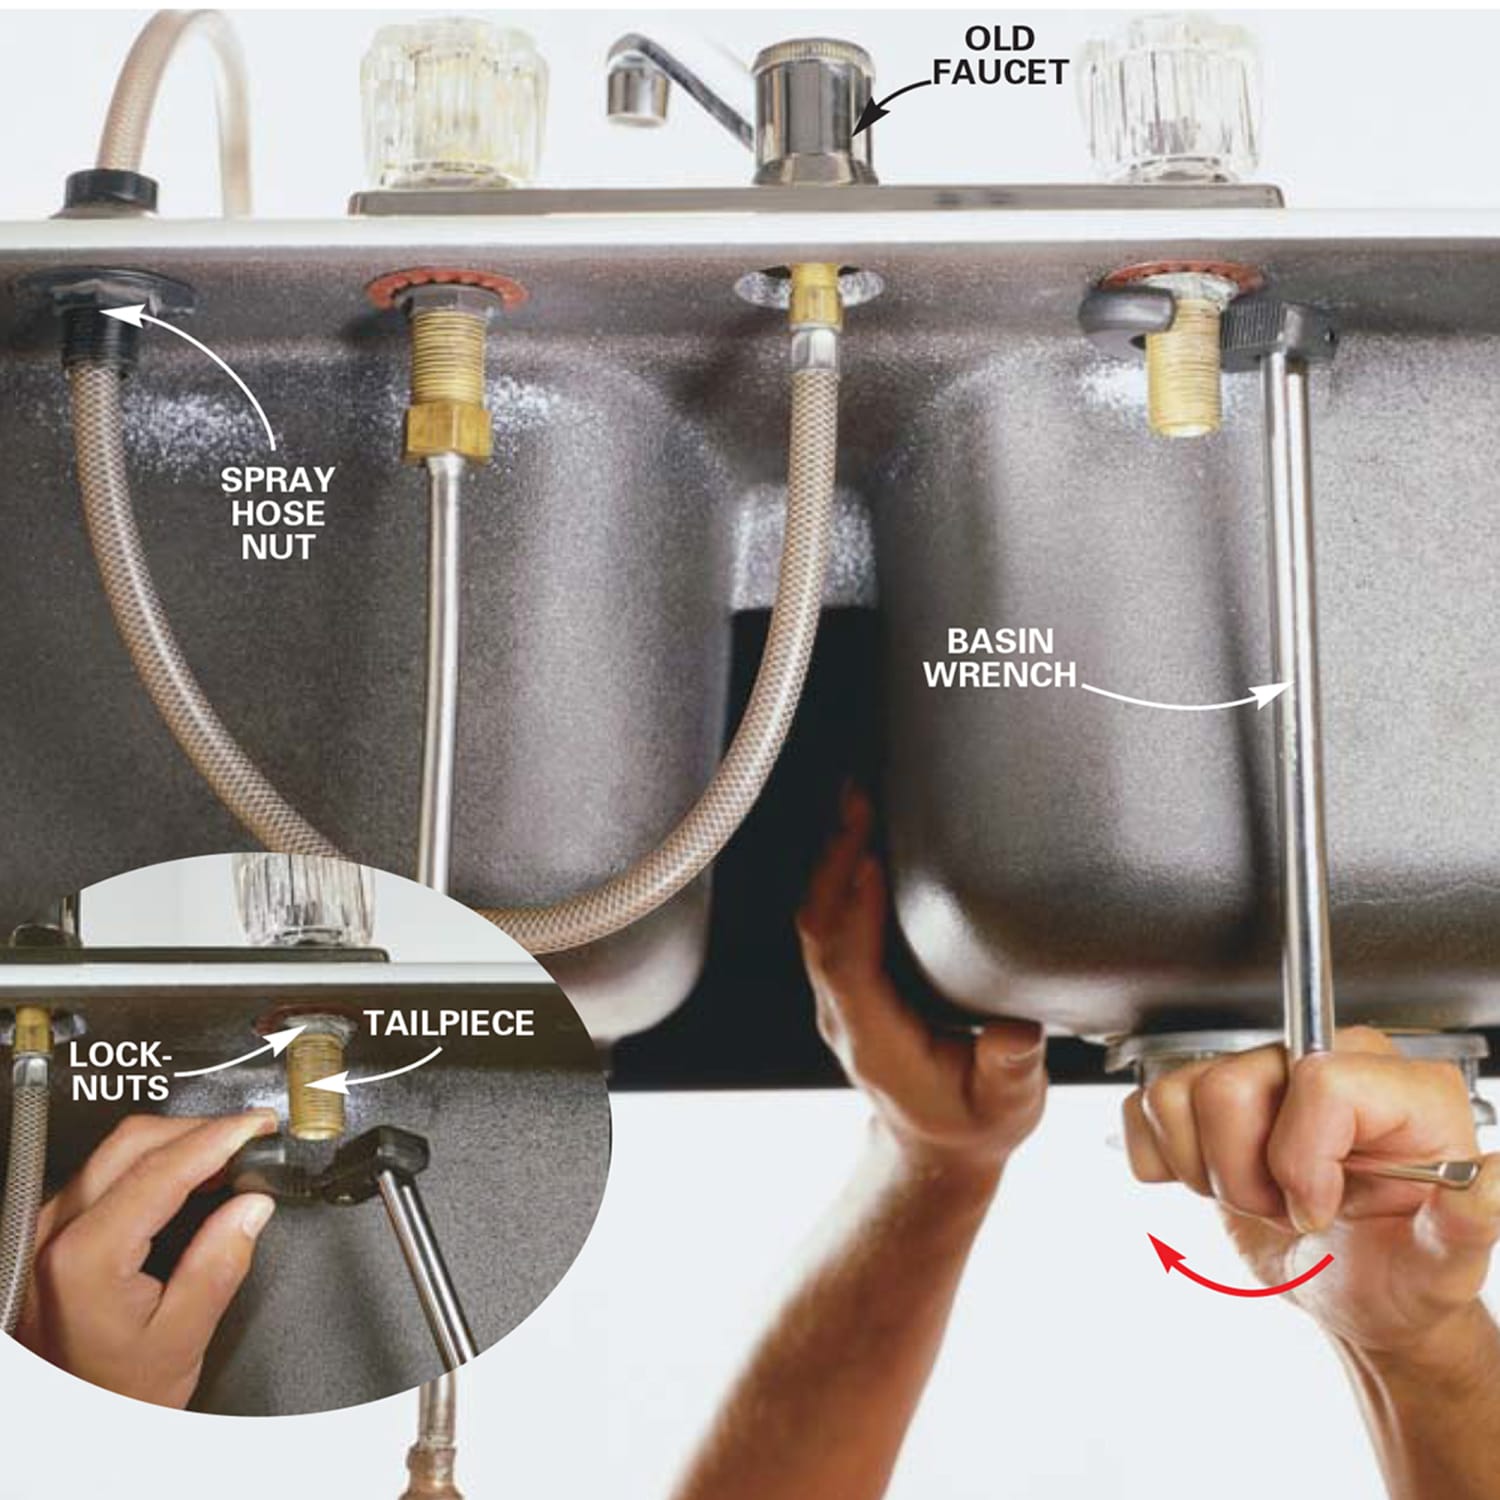
Once the old fixture is in the recycling bin, the dirty restoration begins. Use a plastic razor blade or a nylon scraper to shear away the fossilized ring of calcified deposits. Never scrape a stone or porcelain deck with hardened steel blades, which gouge glazed surfaces and leave stubborn metallic marks. Dissolve stubborn scale using a rag soaked in warm sulfamic acid or cleaning-grade white vinegar. Wipe the perimeter down with isopropyl alcohol to remove lingering grease.
Sealing the new installation requires careful material selection. For decades, plumbers rolled ropes of plumber's putty beneath the faucet base. That technique is now outdated for modern composite, quartz, and natural granite surfaces. Putty contains vegetable or petroleum oils that leach into natural stone pores, leaving indelible grease halos. Instead, inspect the new faucet for an integrated silicone base gasket. If none is supplied, run a narrow bead of clear 100% silicone sealant beneath the rim or deck plate.
Drop the assembly through the hole, aligning it visually with the sink divider. Thread the mounting nut over the bundled lines underneath. Hand-tighten it up to the base washer, confirm the spout sits squarely aligned from above, then lock it securely with the installation collar or basin wrench. Snug is sufficient; over-torquing can buckle composite materials.
Chloe Bennett explores the intersection of pop culture, streaming entertainment, digital trends, and contemporary lifestyle. Her weekly commentary reaches thousands of culture enthusiasts.
