How to Replace a Kitchen Sink Sprayer: the Ultimate Beginner-Friendly Diy Guide
 By Elena Rostova
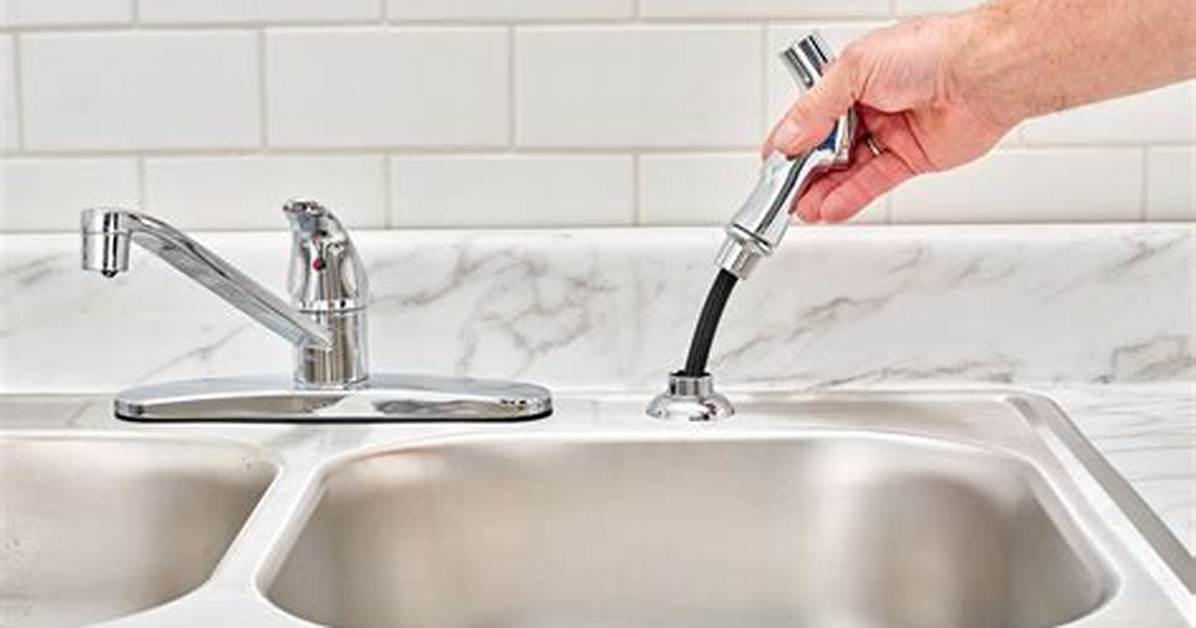
Before buying replacement parts, pinpoint where the mechanical breakdown occurred. Spray assemblies usually fail in one of three areas: the internal hose lining, the handle cartridge, or the faucet body's switching mechanism.
Examine the hose under working pressure. Pull the sprayer fully out of its cradle, wrap a dry paper towel around the braided jacket, and squeeze the trigger. If moisture seeps along the flexible length, the inner vinyl core has fractured. This requires an immediate full assembly swap to prevent water from running backward down the hose guide into your cabinetry.
If water dribbles weakly from the nozzles while the main faucet stream stays fully pressurized, check the spray head aerator. Hard water minerals, specifically calcium carbonate, regularly restrict these fine plastic screens. Unscrewing the head and soaking it in warm distilled vinegar often dissolves the obstruction immediately.
However, if squeezing the trigger causes water to pulse erratically or flow simultaneously from both the main spout and the side sprayer, the faucet diverter valve has jammed. This small brass or plastic piston sits inside the central faucet casing, redirecting water flow when pressure drops at the sprayer handle. Replacing the sprayer assembly will not resolve a stuck diverter.
Elena Rostova holds a Master's degree in Public Health Journalism. She covers groundbreaking medical research, holistic wellness trends, mental health awareness, and nutritional science.
